Workholding Tutorial
Cylindrical Fixture and End Cap
Objective
Design a workholding process to mount the cylindrical part for multi-sided machining and automate the process for lights-out operation.
Considerations
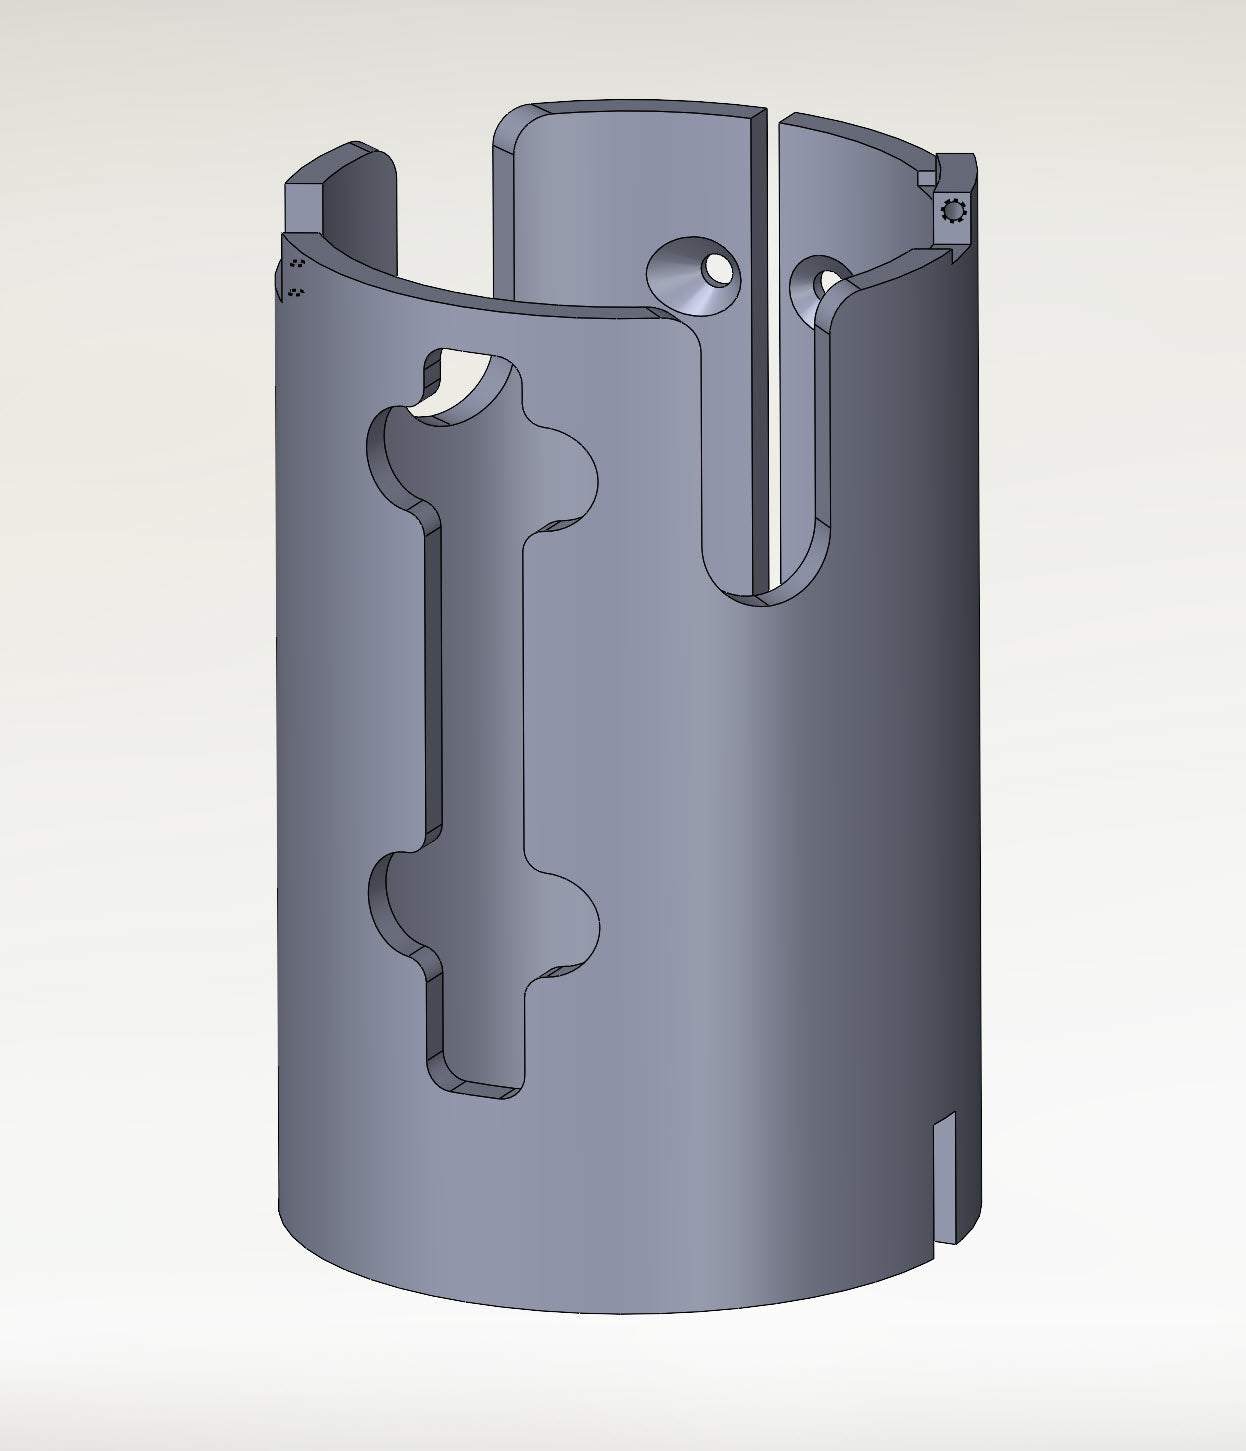
While a lathe could potentially be used to turn this cylindrical part, we do not currently have access to one. Additionally, the castle-like features on the end would still require fixturing and support for rigidity. Our goal is to run the part through our Trinity Automation system, so we have decided to complete the entire process on a 5-axis CNC milling machine.
Fig. 1 Cylindrical Part
Challenges
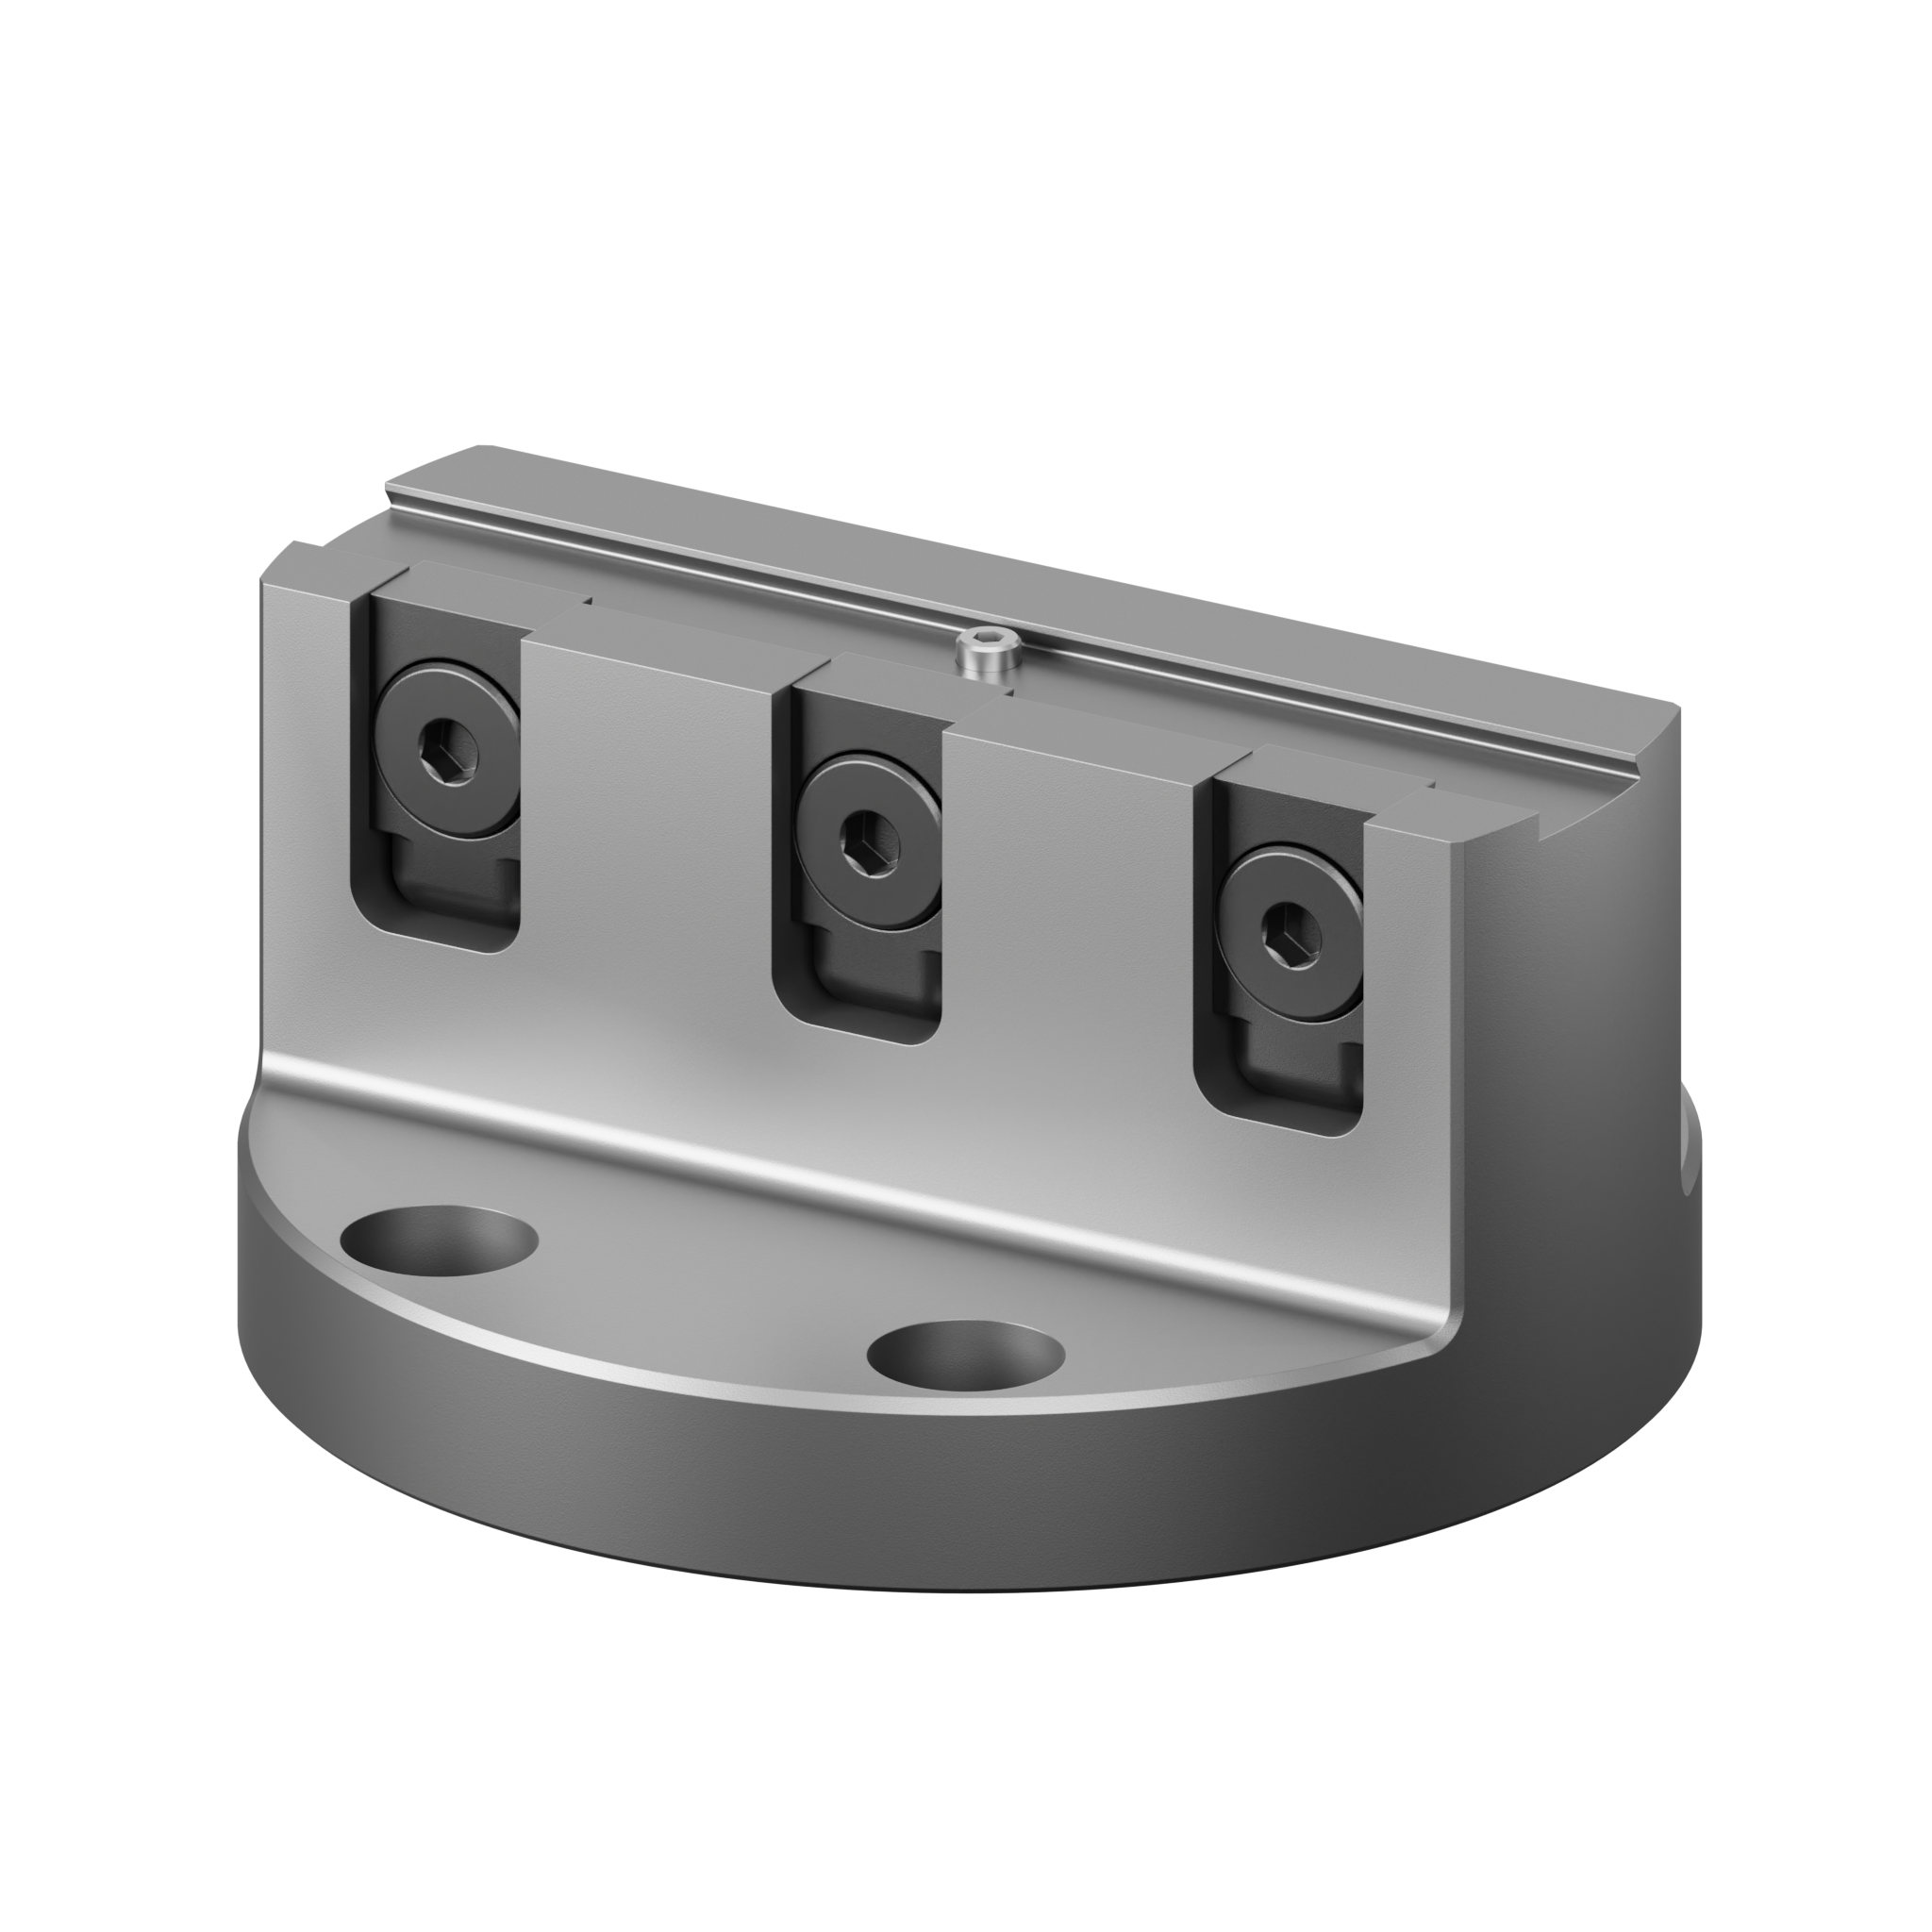
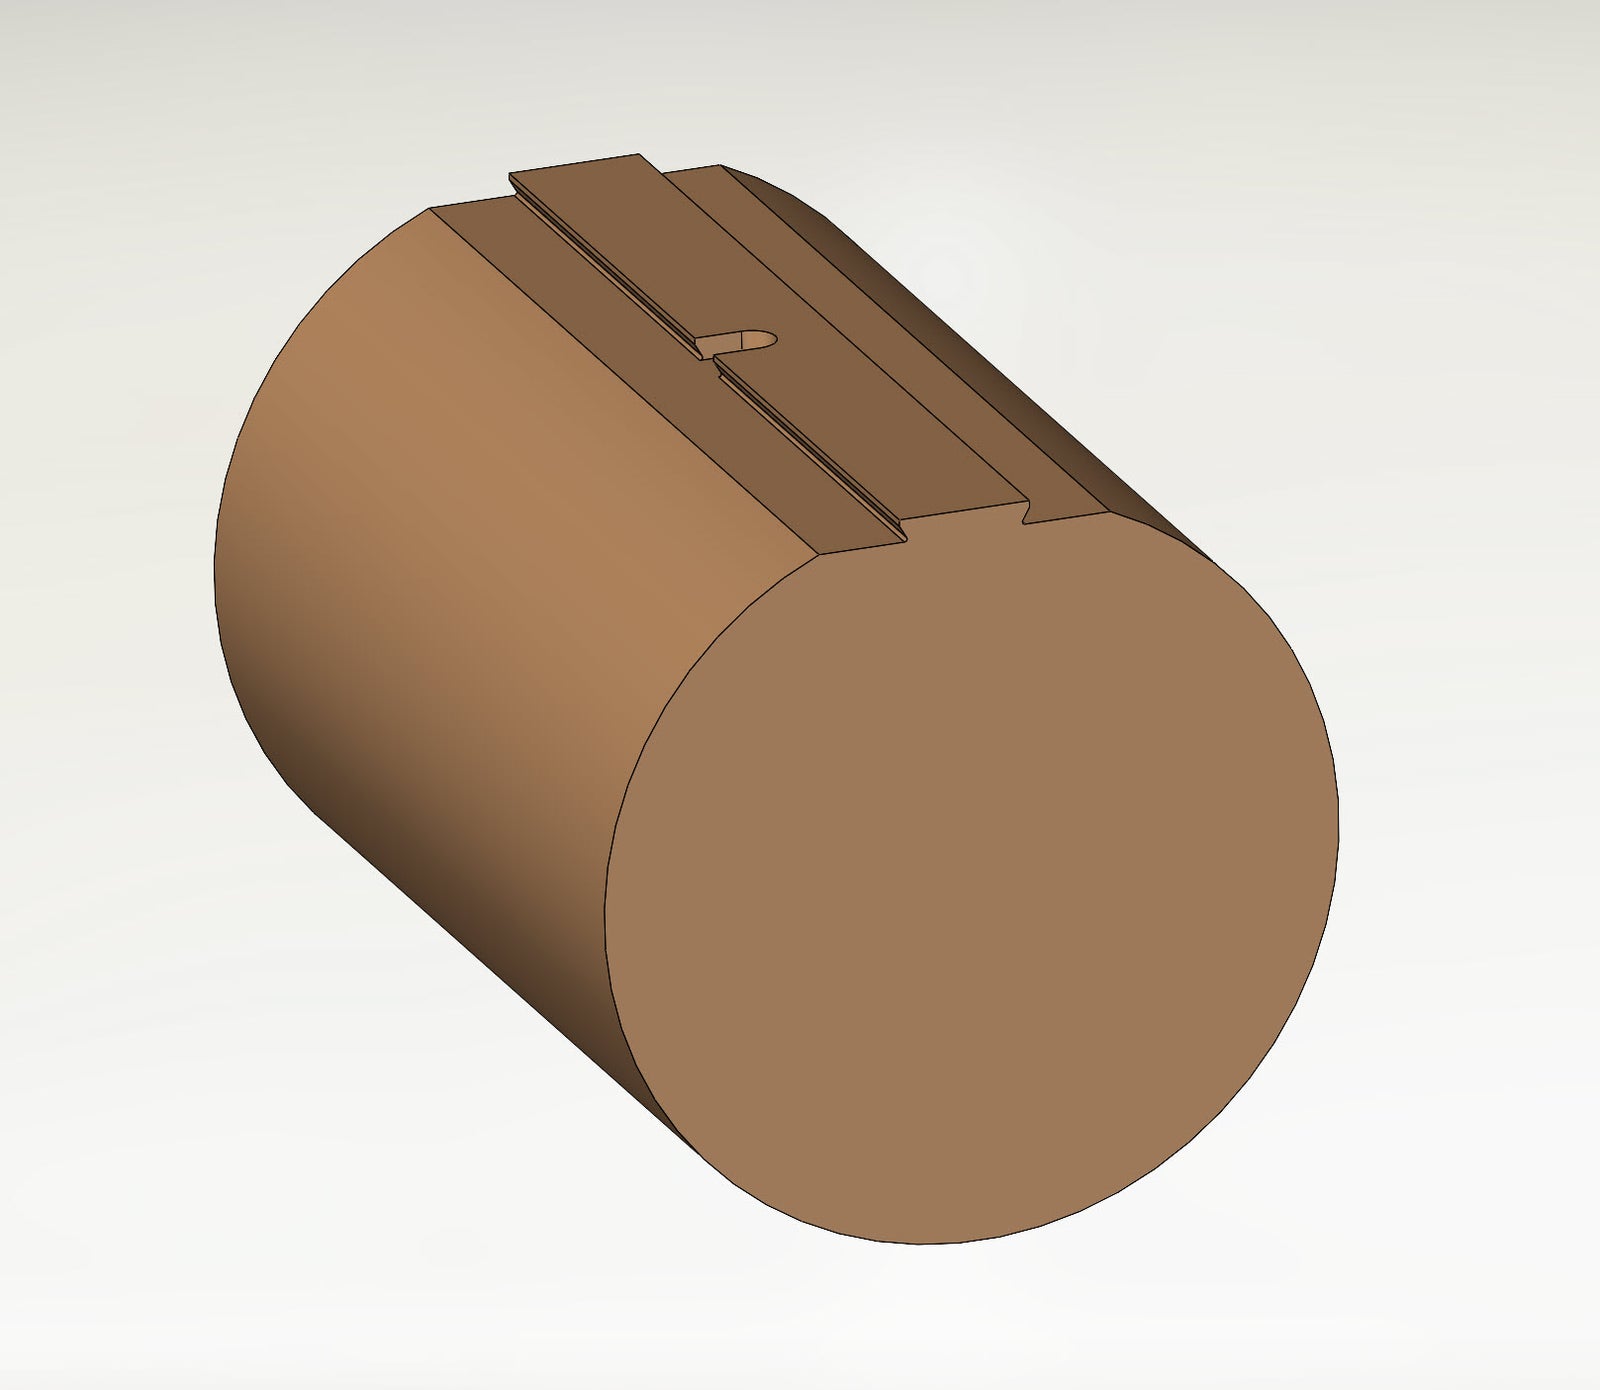
To run the part through our automated pallet system, we need a workholding strategy that allows mounting multiple parts onto pallets. This strategy must be low-cost and quick to build to ensure efficiency. We will use 6061 aluminum raw stock, 4” in diameter, cut to 5.6” long. A prep operation will cut a dovetail feature along the stock length to facilitate dovetail workholding for the first operation. The dovetail vise used will be the Zero Point Automation DT-351 ¾” Dovetail Vise.
Fig. 2 Dovetailed Stock
Process
Prep Operation
Machine a ¾” dovetail feature onto the material blank using a Schunk KSC 125-160 self-centering vise.
Cycle Time - 4 minutes per part
Fig. 3 Stock in Vise.
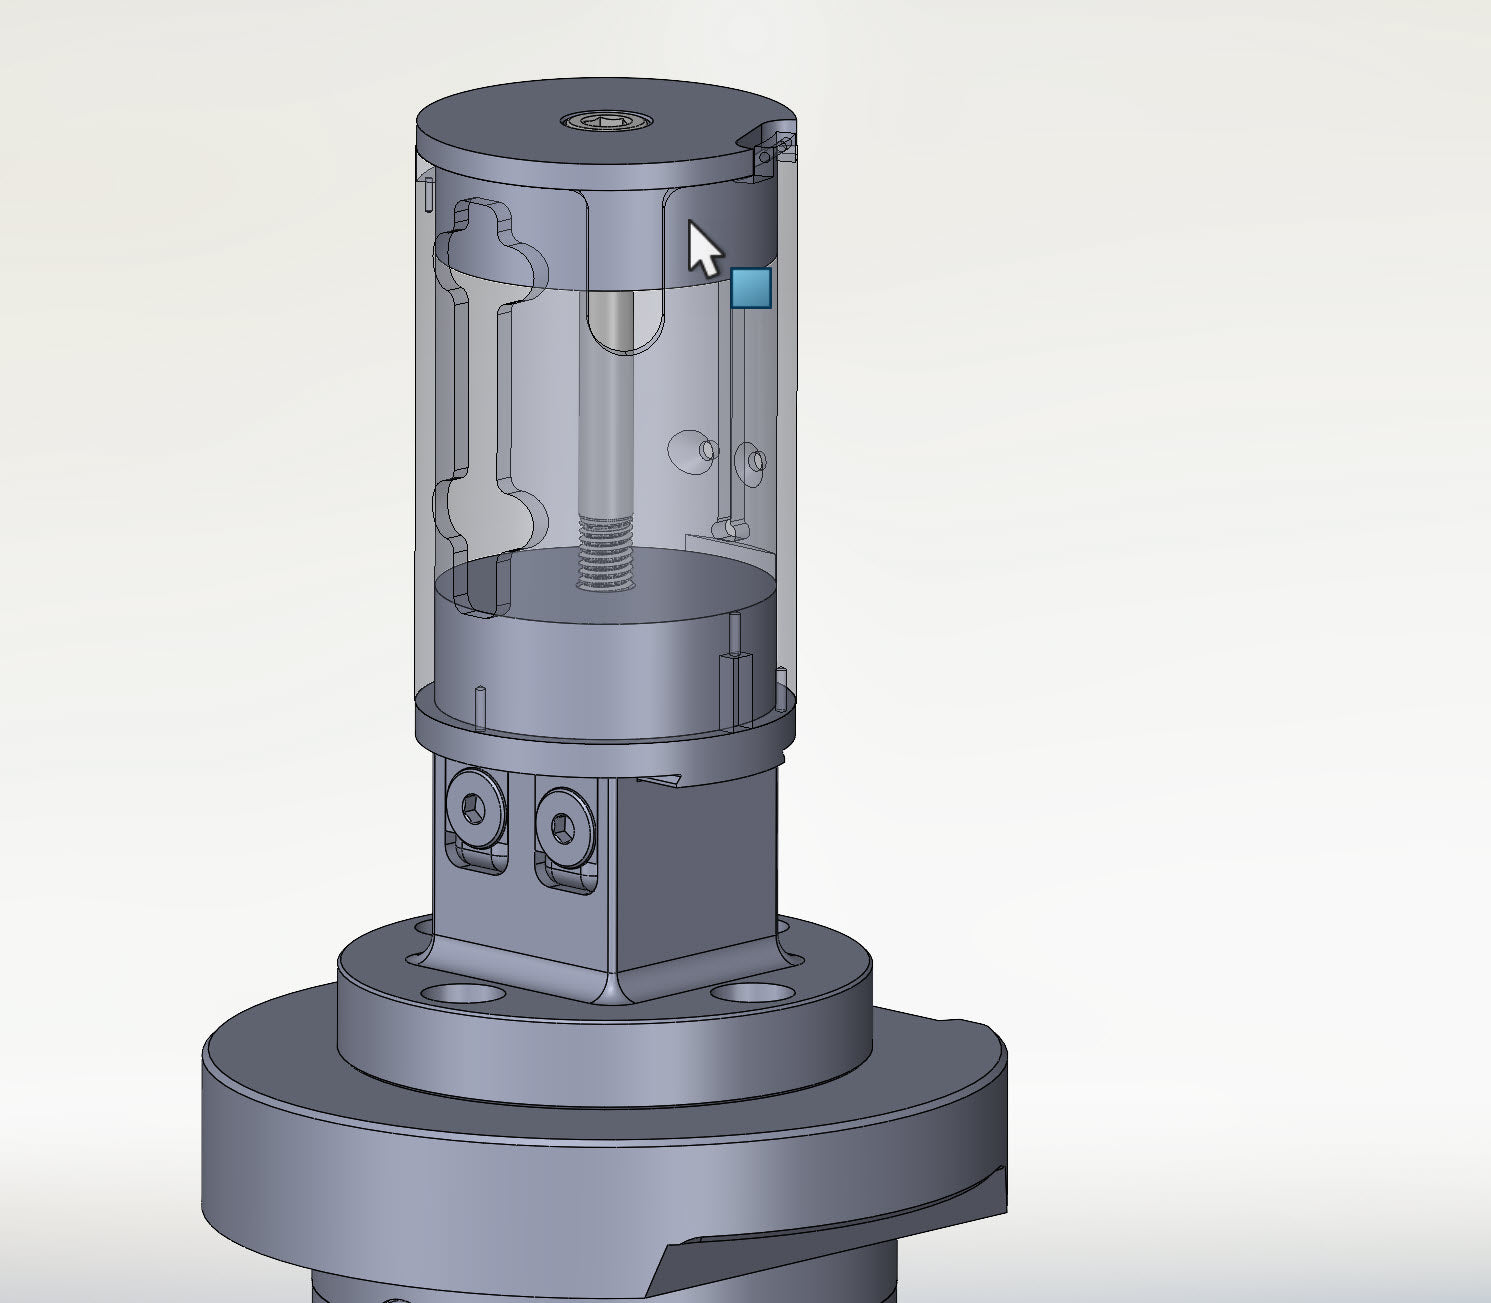
Fabricate Mounting Bases
- Fabricate several mounting bases with a dovetail feature.
- Clamp the mounting bases to Zero Point Automation DT-551 1.5” Dovetail Vises.
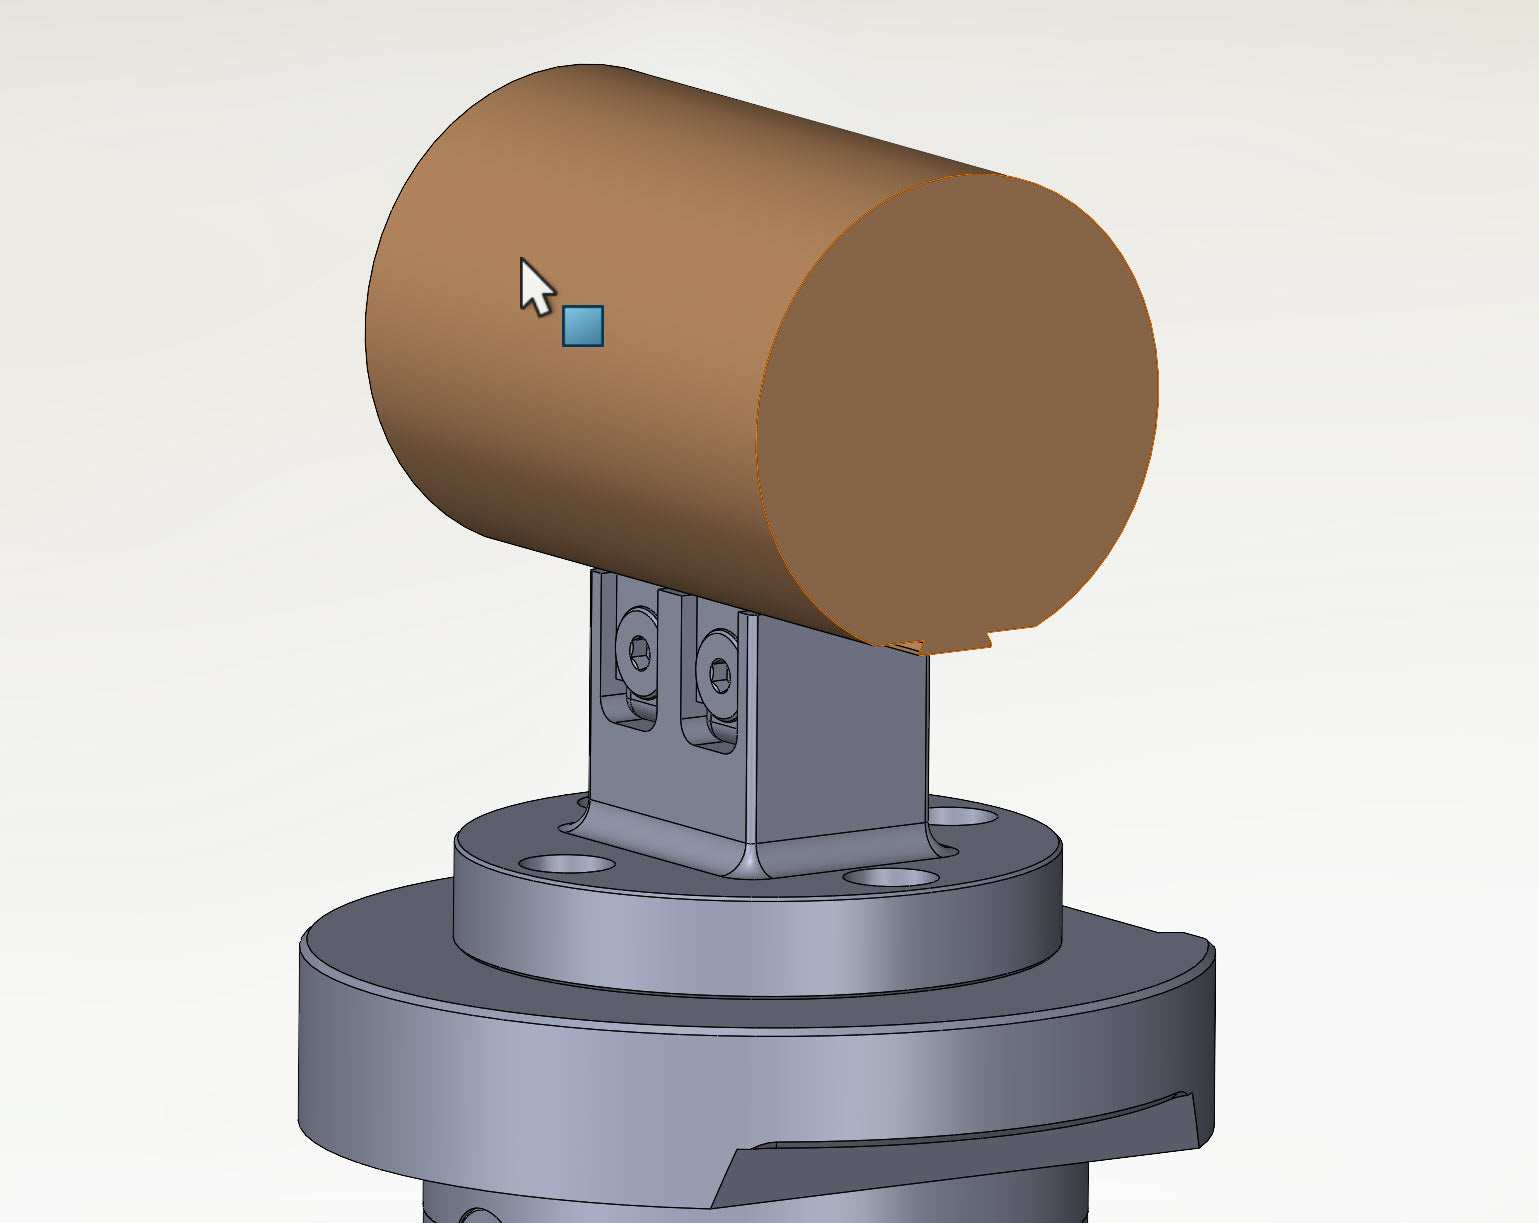
- Machine the cylindrical locating boss onto the mounting base while mounted to the dovetail vises for accurate positioning. Drill and tap the clamping hole for a ½-13 Socket Head Cap Screw.
Cycle Time - 8 minutes per part
Fig. 4 Mounting Base on DT-551 Dovetail Vise
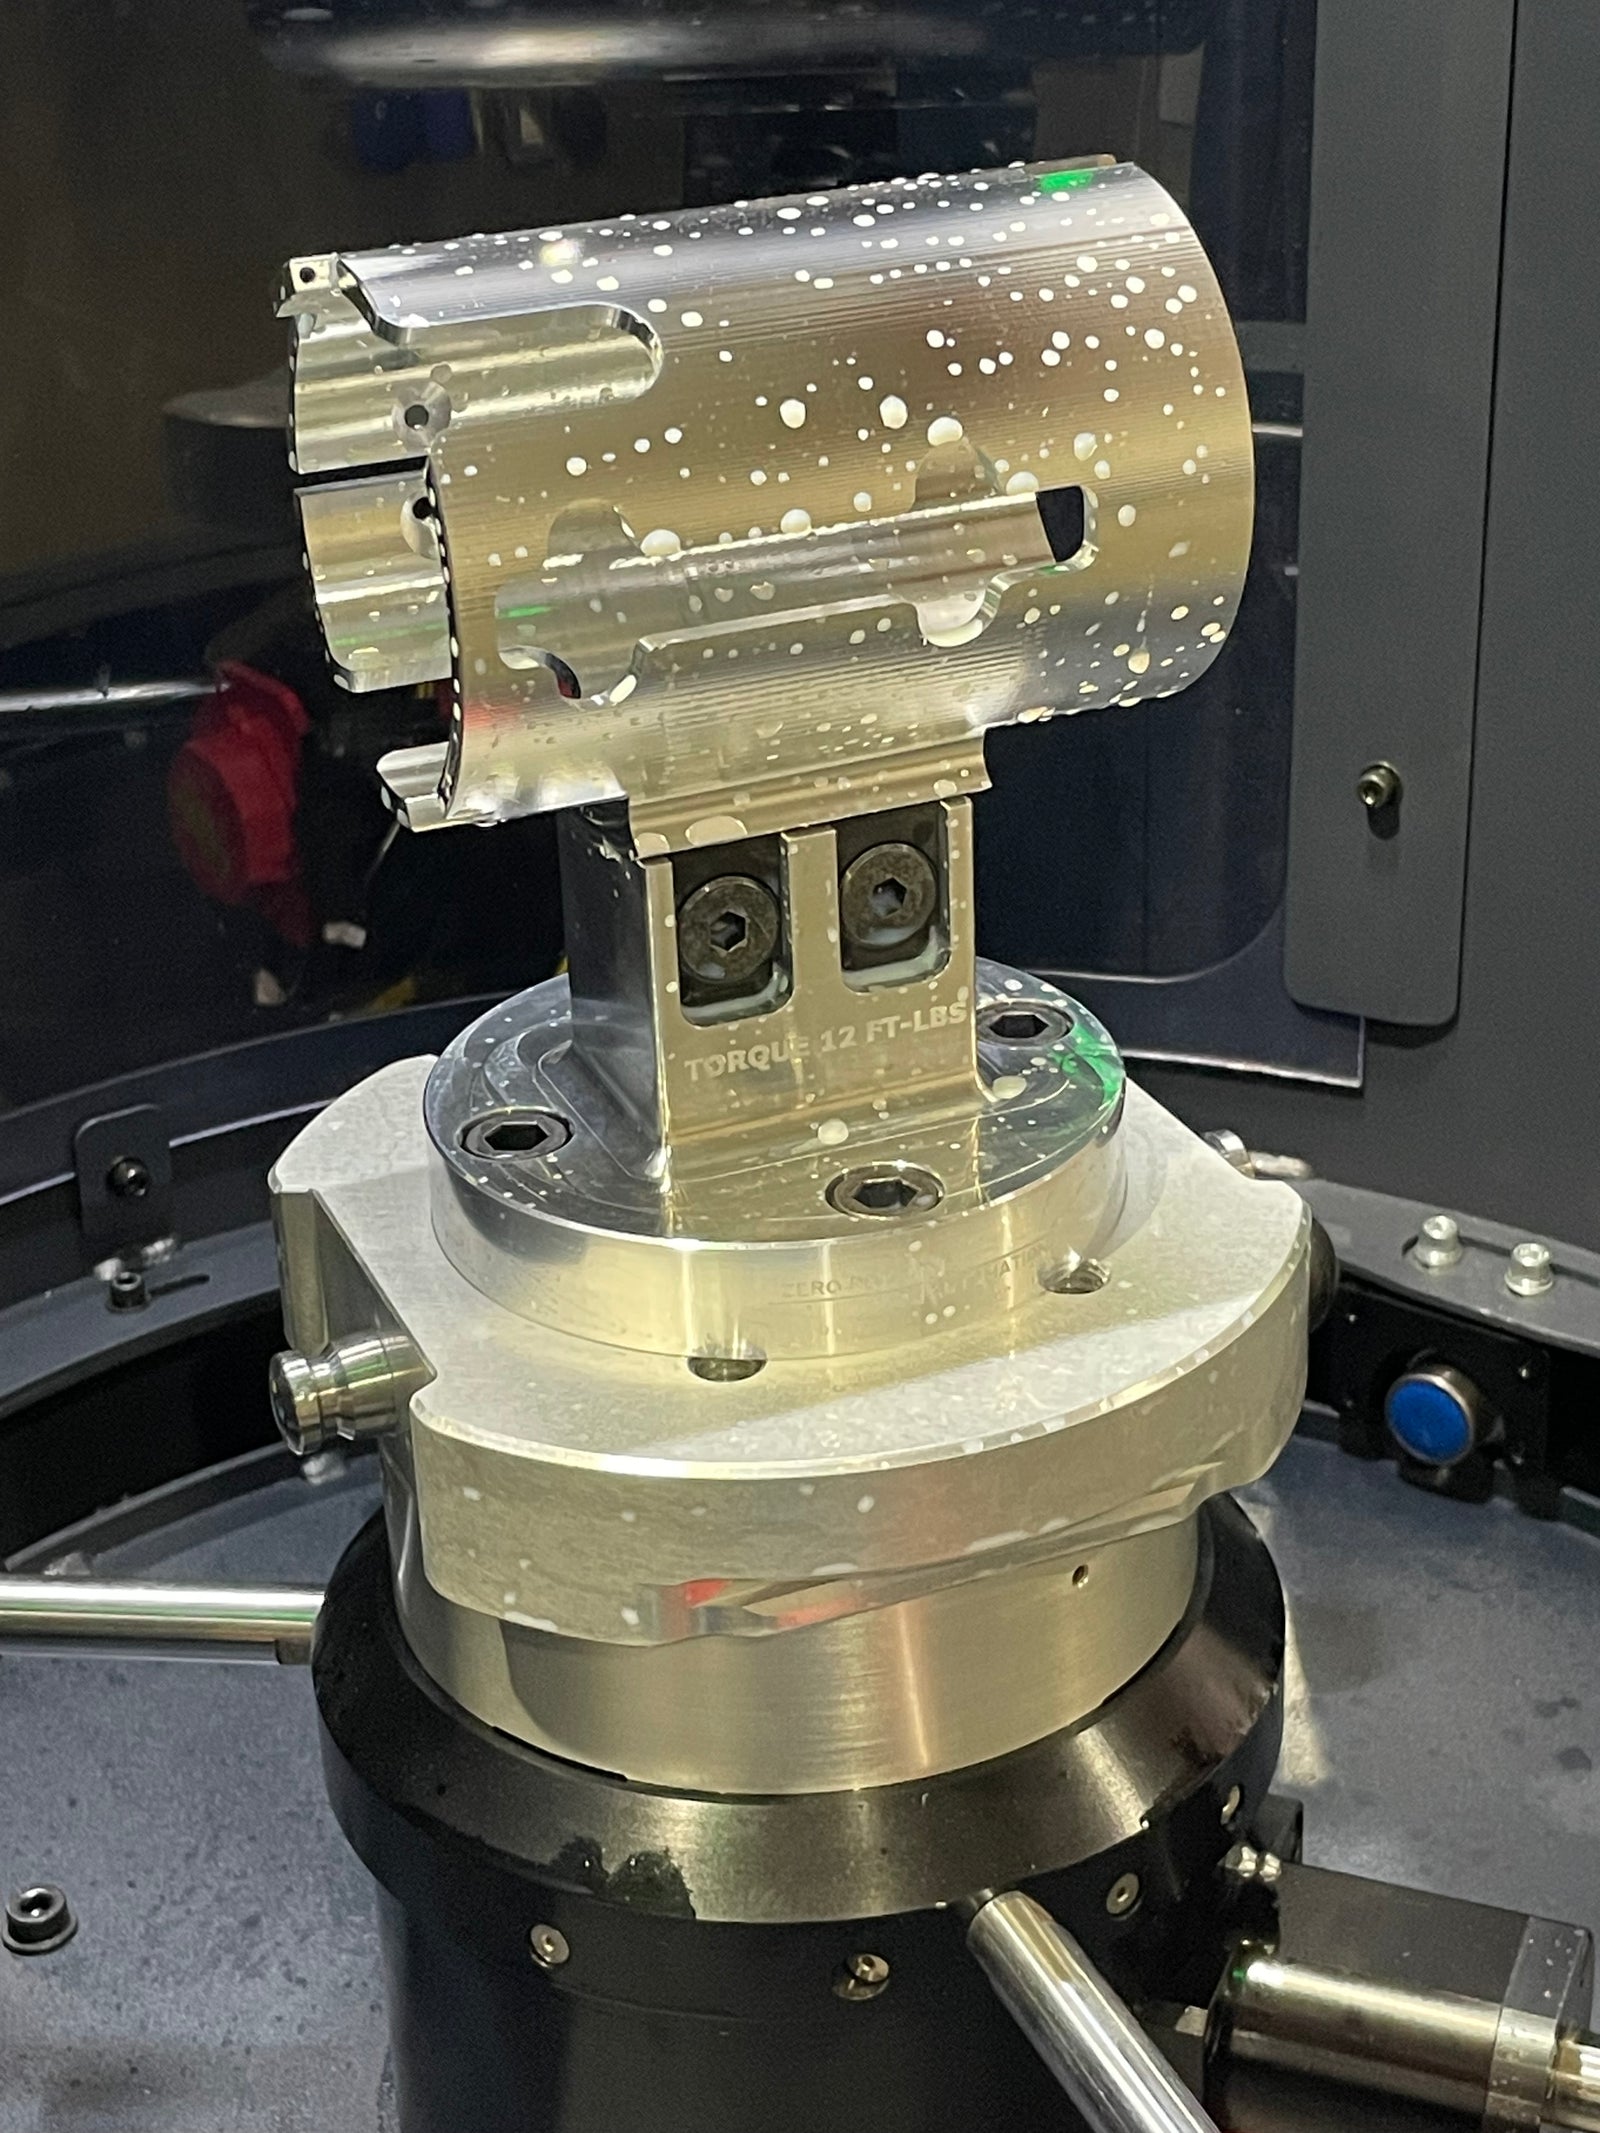
Machining Operations
- Mount the material blanks to the dovetail vises.
- Machine the I.D., peripheral, and end features, and rough the cylindrical stock to 0.01” oversize.
Cycle Time - 90 minutes per part
Fig. 5 Op 1 Machined Part
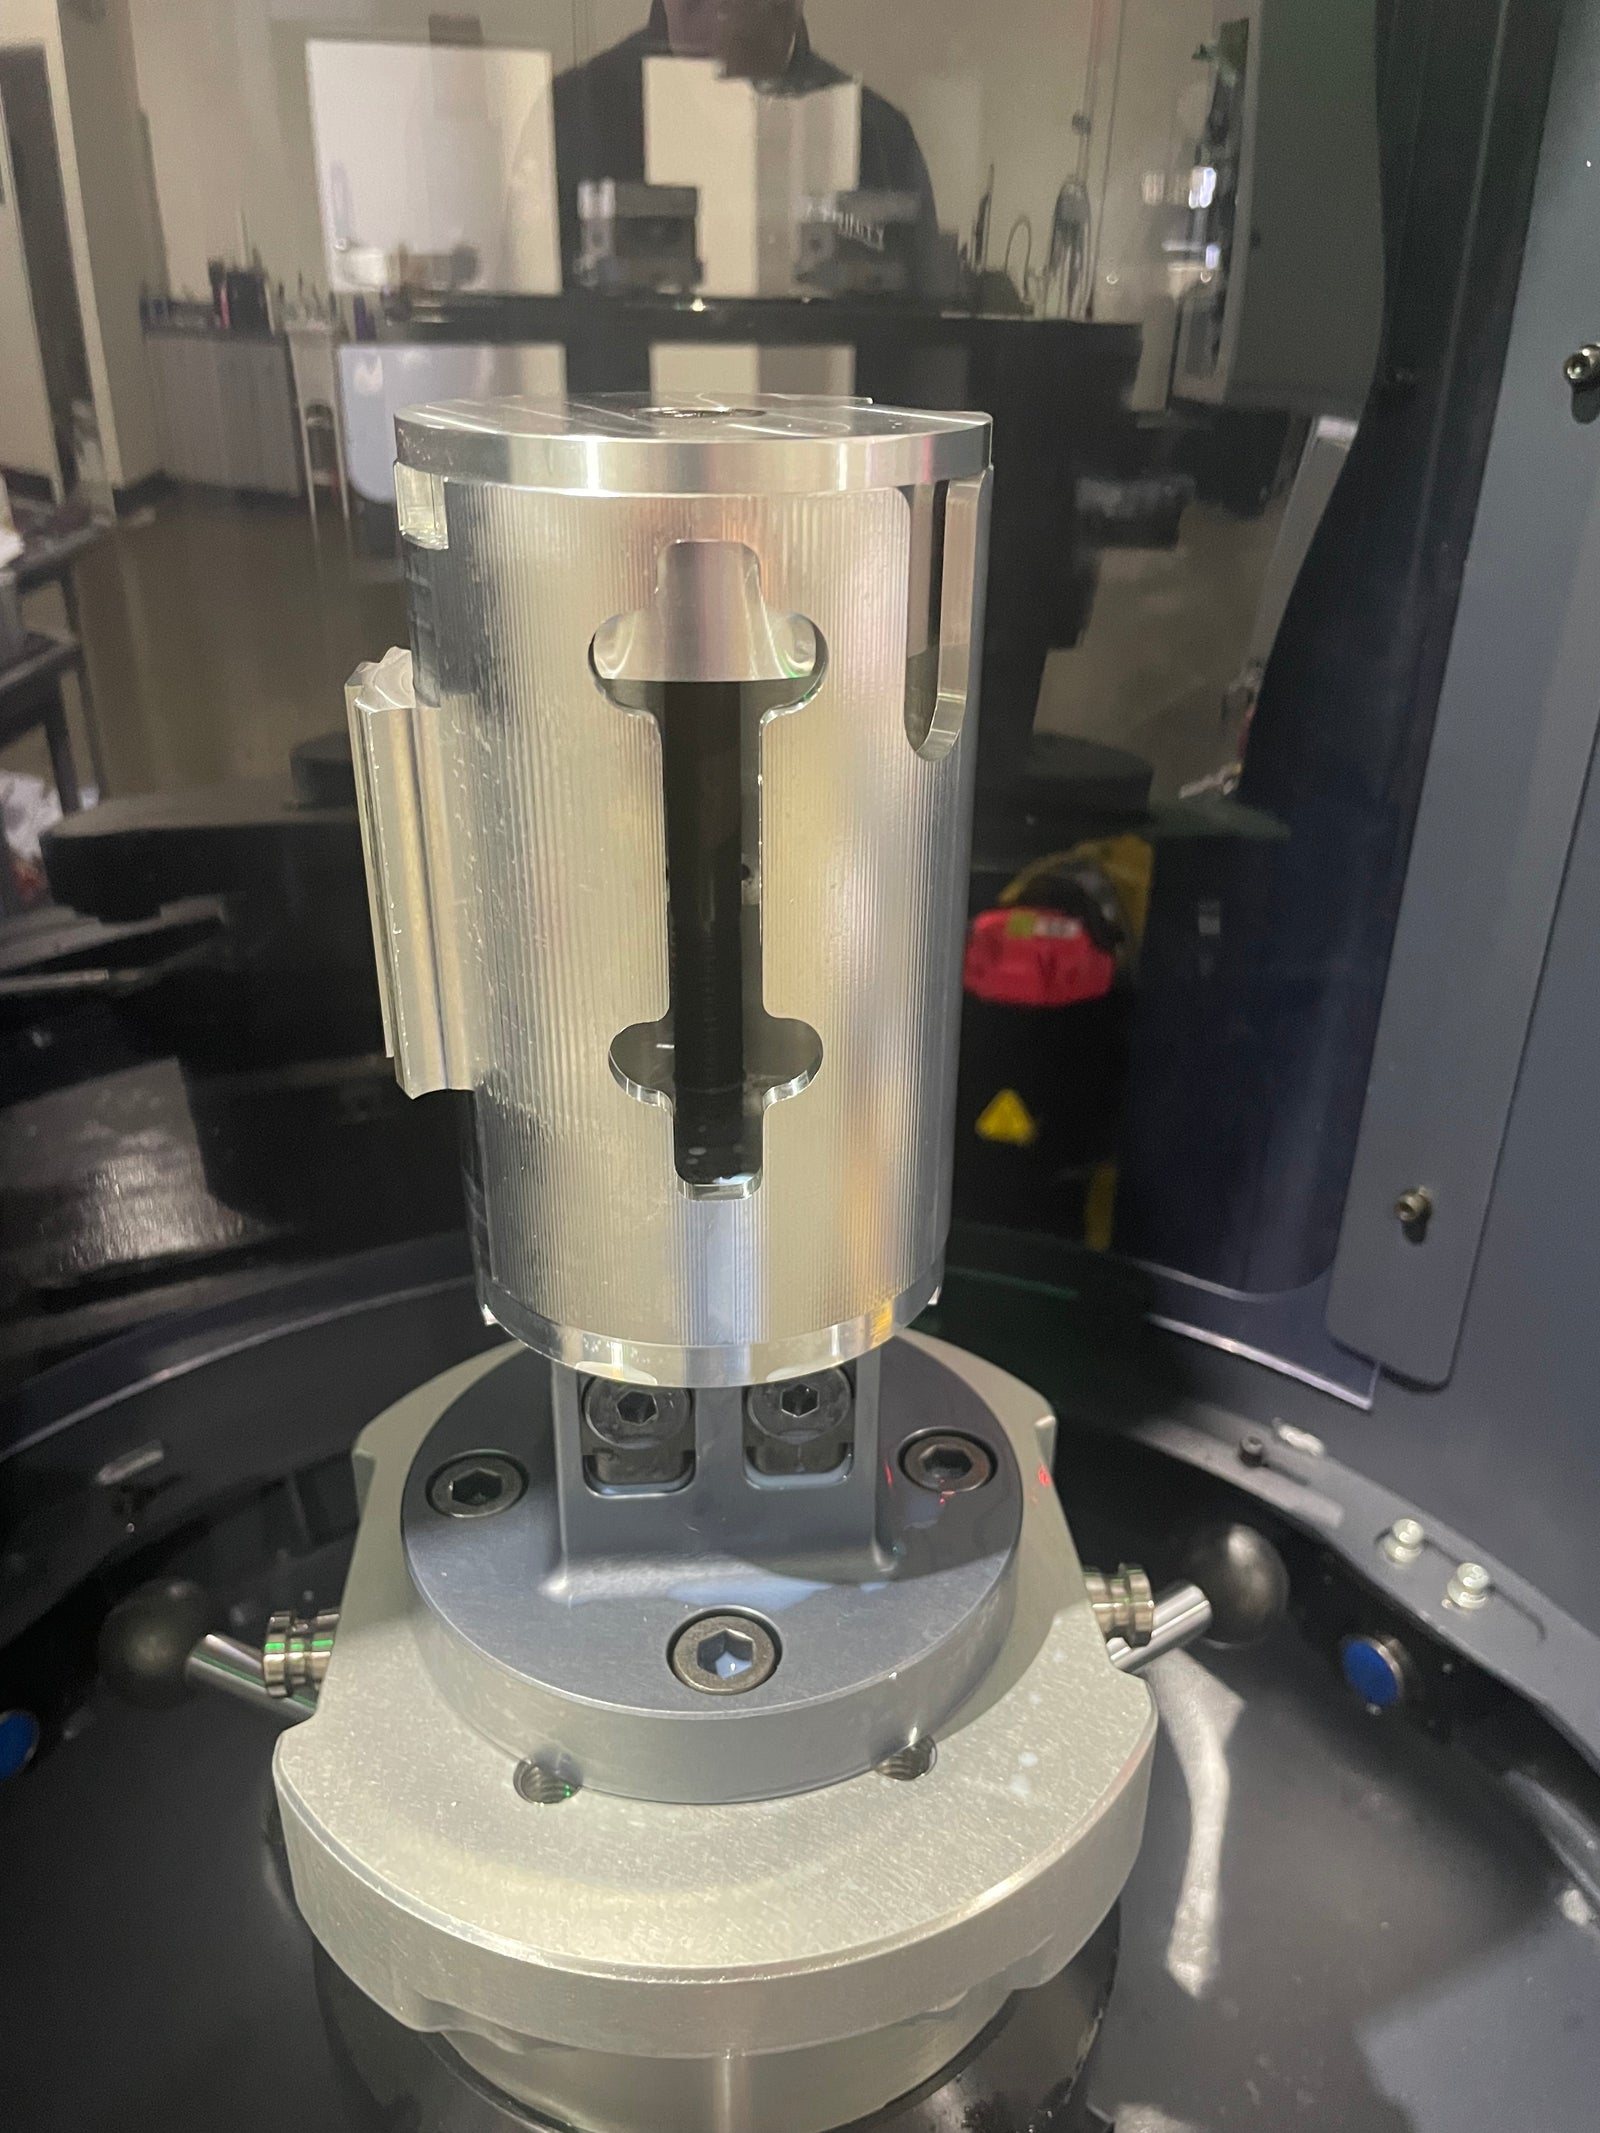
Final Operations
- Mount the parts to the mounting bases.
- Clamp with the end cap and ½-13 SHCS to machine off the dovetail feature.
- Finish the outside diameter.
- Deburr the external features.
Cycle Time - 38 minutes per part
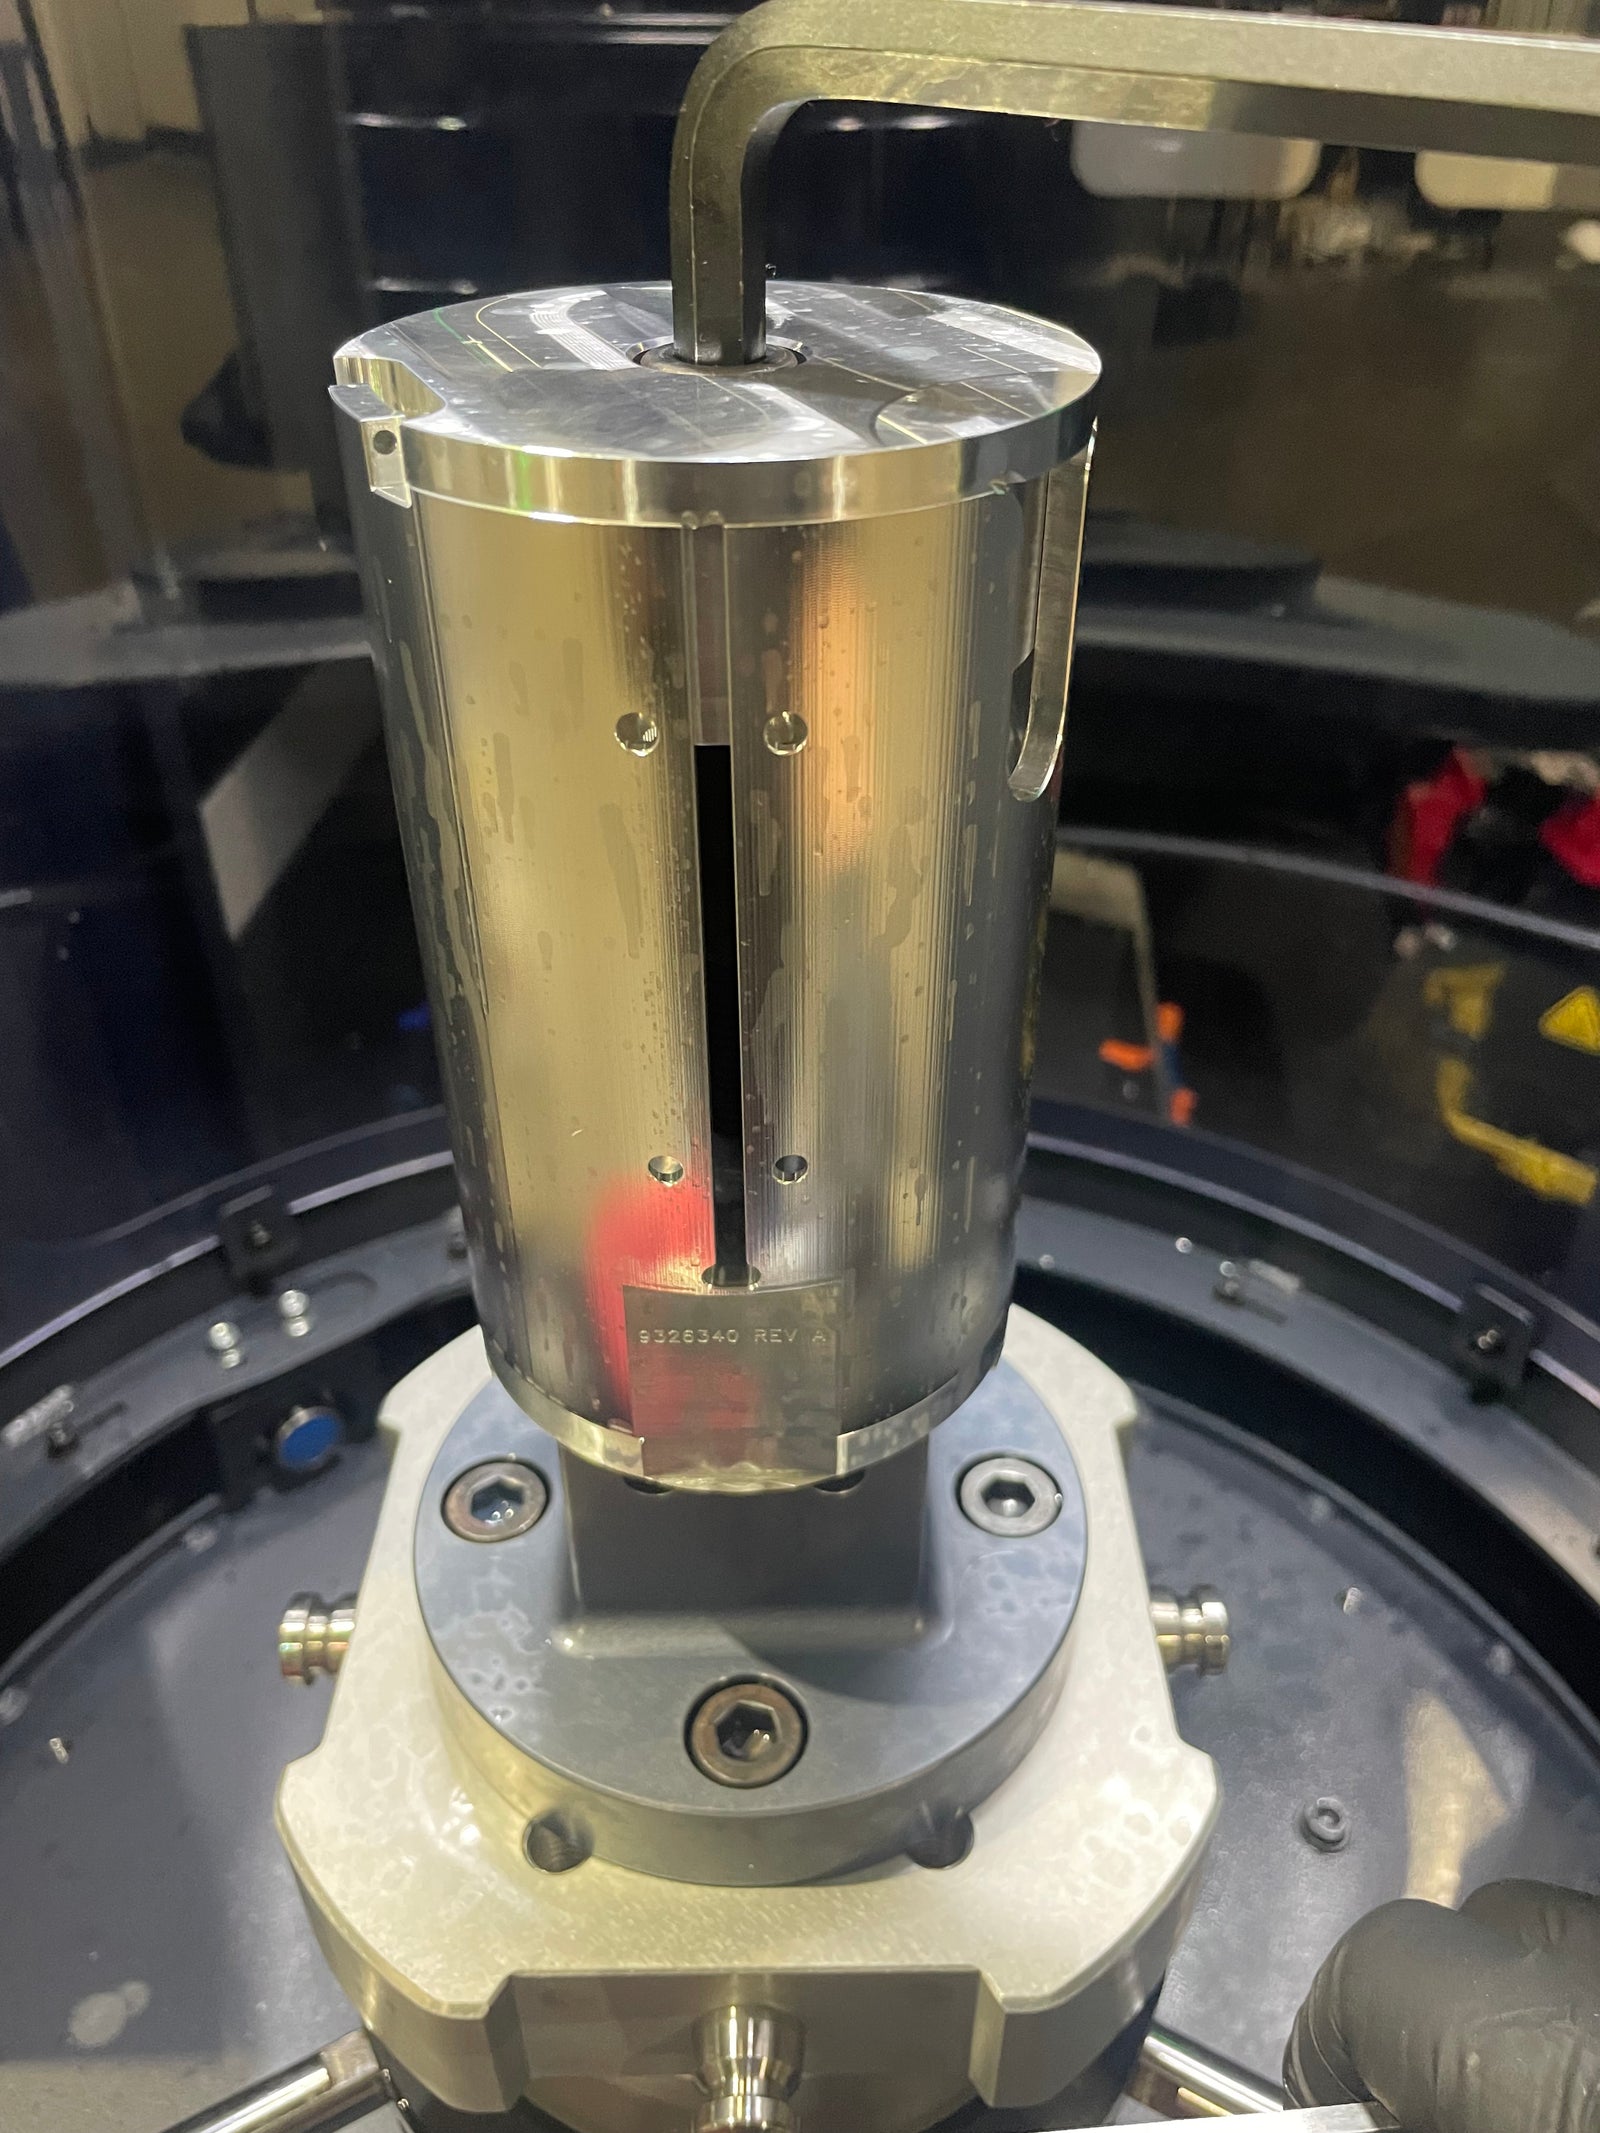
Fig. 6 Finished Part Mounted to Device
Fig. 7 Photo of Finished Part
Automation Study
How could this work be automated to take 1.5 days instead of 4 days?
The part could be run on a 5-axis machine one at a time using this process. With a cycle time of 90 minutes for the first operation and 38 minutes for the second operation, producing a quantity of 15 parts would take four eight-hour days to complete the production run.
Utilizing the Trinity Automation system to run the parts lights-out on pallets would allow the same production run to be completed in one and a half days.


